
How to draw a taco drawing food is one of the most enjoyable ways to practice art, and tacos are a perfect subject to start with. Their unique shell shape, colorful fillings, and fun textures make them easy and exciting to draw. Whether you are a beginner, a student, or simply someone who loves drawing cute food illustrations, this step-by-step taco drawing guide will help you create a delicious-looking taco with ease.
By following these simple instructions, you will learn how to draw the taco shell, add realistic fillings, create texture, and bring your artwork to life with color.
Materials You Need
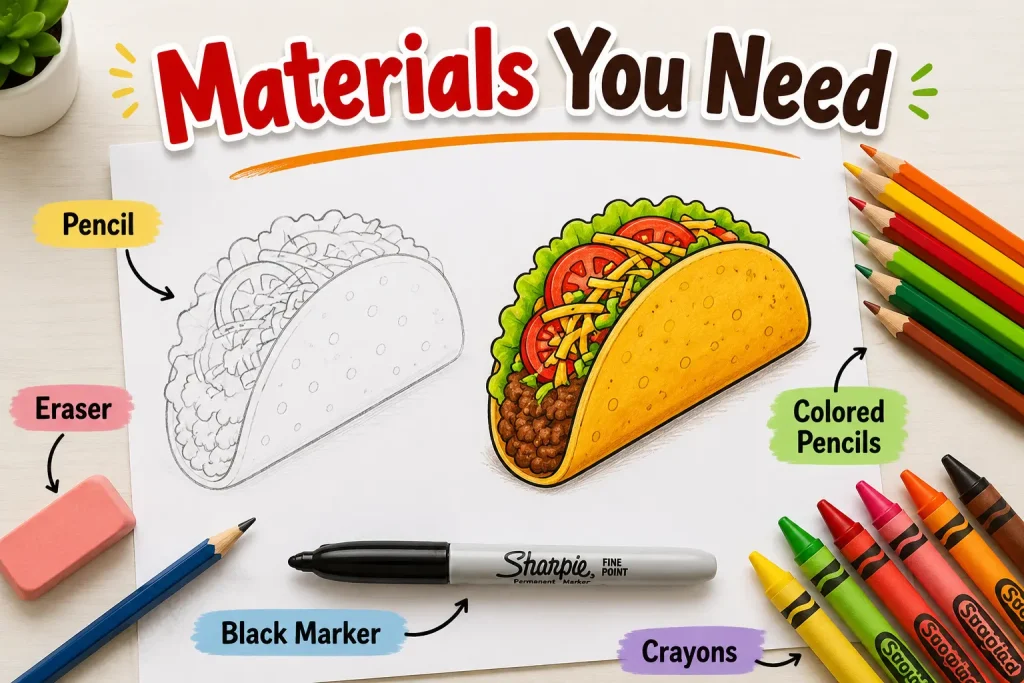
Before you start drawing, gather the following supplies:
- Drawing paper
- Pencil
- Eraser
- Black marker or fineliner
- Colored pencils, crayons, or markers
These basic materials are enough to create a colorful and attractive taco drawing.
Step 1: Prepare Your Paper
Place your paper in a landscape position (horizontal format). This gives you more room to draw the taco and add extra details later.
Before drawing, look at the center of your paper and decide:
- Where your taco will be placed
- How large you want it to be
- Whether you want to add a plate or background later
Planning the placement helps create a balanced drawing.
Step 2: Draw the Front Edge of the Taco Shell
Start by drawing a gently curved diagonal line. This line will form the front edge of the taco shell.
Keep the curve smooth and natural. It doesn’t need to be perfectly straight because taco shells usually have slight curves.
Step 3: Create the Main Shell Shape
Now draw a large curved line above the first line.
The shape should resemble:
- A rainbow
- The top half of a circle
- A folded taco shell
Connect both ends of the curved line to the first line. This creates the main outline of the taco.
Step 4: Add the Back Side of the Shell
To make the taco look three-dimensional, draw another curved line behind the first shell.
Start from the back edge and connect it to the bottom of the taco.
This extra line shows the folded shell and gives the drawing depth.
Step 5: Give the Shell Thickness
Real taco shells are not paper-thin. Draw small connecting lines along the shell edges to show thickness.
Adding thickness makes the taco look more realistic and professional.
Step 6: Draw the First Layer of Filling
Now comes the fun part the fillings.
Start by drawing a wavy line inside the shell.
This wavy shape can represent:
- Lettuce
- Cabbage
- Salad greens
The uneven edges make the filling look fresh and natural.
Step 7: Add Ground Meat or Beans
Below the lettuce, draw a series of small bumpy curves.
These bumps can represent:
- Ground beef
- Chicken
- Beans
- Taco meat
Adding texture here helps distinguish the ingredients from each other.
Step 8: Draw Cheese Shreds
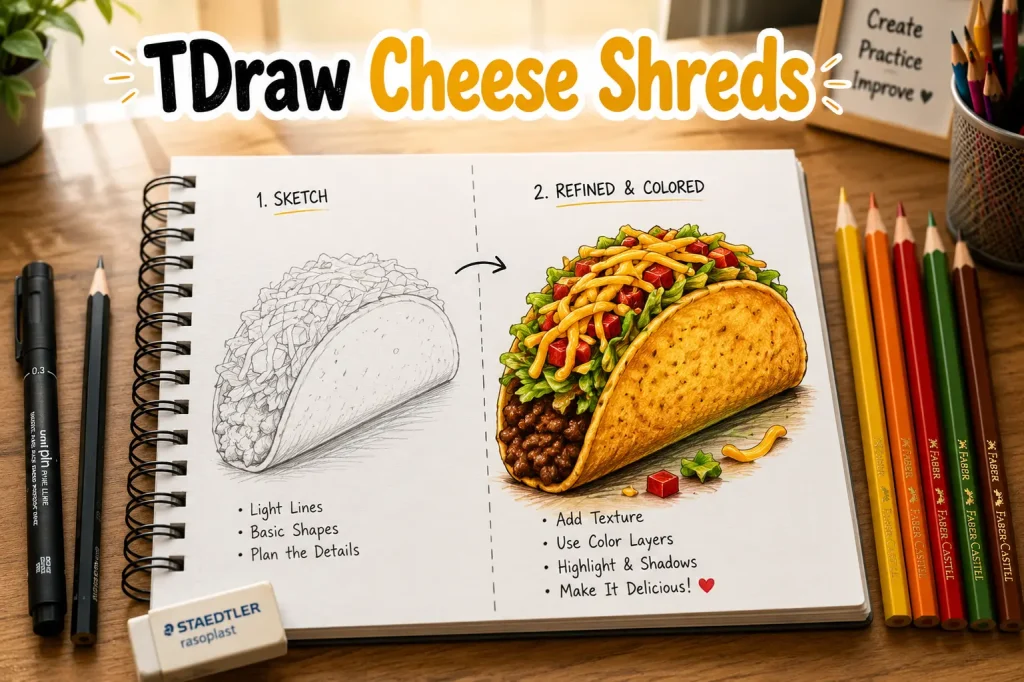
Cheese is one of the most recognizable taco toppings.
Draw several short curved rectangles and thin strips throughout the filling area.
Scatter them naturally so they look like shredded cheese falling between the ingredients.
Step 9: Add Tomatoes and Vegetables
Draw small half-circle shapes to create tomato slices.
You can also add:
- Cucumber slices
- Jalapeños
- Onions
- Avocado pieces
Mixing different shapes makes the taco look fuller and more detailed.
Step 10: Add More Filling Layers
Continue adding wavy and curved shapes until the taco appears packed with ingredients.
A good taco usually has several visible layers, so don’t be afraid to overlap the fillings.
This creates a rich and delicious appearance.
Step 11: Create Shell Texture
One feature that makes taco shells recognizable is their crunchy texture.
Lightly draw circles and oval shapes of different sizes across the shell.
These small patterns imitate the texture found on real taco shells.
Step 12: Trace with a Black Marker
Once you are happy with your sketch:
Trace all important lines with a black marker.
Leave the texture circles uncolored if desired.
Add small details such as:
- Lettuce edges
- Tomato seeds
- Meat texture
- Cheese strands
This step makes the drawing cleaner and more polished.
Step 13: Erase Pencil Marks
After the marker ink dries completely, erase any remaining pencil guidelines.
Your taco drawing should now have crisp, clean outlines ready for coloring.
Step 14: Color Your Taco
Now bring your taco to life with color.
Suggested Colors
Taco Shell
- Golden yellow
- Light brown
- Orange-yellow
Lettuce
- Light green
- Dark green
Tomatoes
- Bright red
Cheese
- Yellow
- Pale orange
Meat
- Brown
Avocado
- Green
Use lighter and darker shades to create highlights and shadows for a more realistic look.
Tips for Making Your Taco Drawing Better
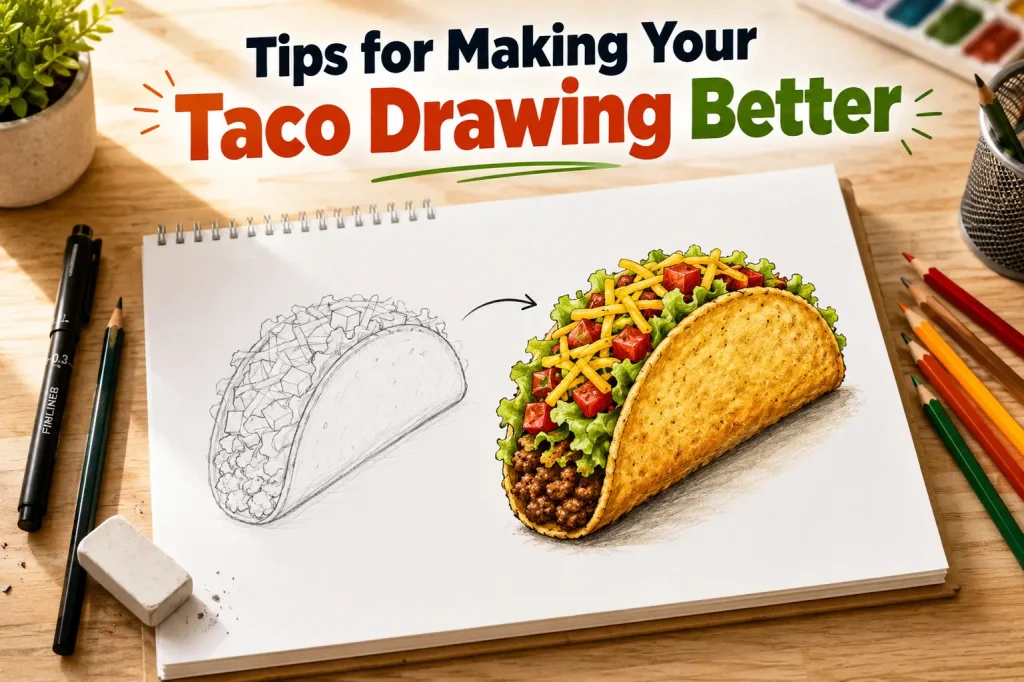
To make your artwork stand out, try these ideas:
Add More Fillings
Draw extra ingredients such as:
- Guacamole
- Sour cream
- Salsa
- Corn
- Black beans
Create a Taco Plate
Place your taco on a plate and add:
- Chips
- Salsa
- Nachos
- Lime slices
Draw Multiple Tacos
Turn your drawing into a taco party by adding several tacos with different fillings.
Make It a Cartoon Taco
Add:
- Eyes
- A smile
- Arms and legs
This creates a fun cartoon character that kids will love.
Add a Background
Draw:
- A Mexican restaurant
- A picnic table
- A food truck
- A fiesta scene
Background details make the artwork more interesting.
Common Mistakes to Avoid
- Making the shell too flat
- Overcrowding the fillings
- Forgetting shell texture
- Using only one color shade
- Skipping outlines before coloring
Taking your time with each step will produce a much better result.
FAQs
How do I add texture to the taco shell?
Draw small circles and uneven patterns across the shell to create a crunchy texture effect.
Can I customize my taco drawing?
Yes, you can add different fillings, sauces, vegetables, or even create a cartoon-style taco.
How long does it take to draw a taco?
Most beginners can complete a taco drawing in about 20–30 minutes.
Should I outline my drawing before coloring?
Yes, tracing with a black marker before coloring makes the artwork cleaner and more professional.
What can I draw with my taco?
You can add chips, salsa, guacamole, burritos, drinks, or a full taco party scene.
Conclusion
Learning how to draw a taco is a fun and easy art project for kids and beginners. By starting with a simple shell shape and gradually adding layers of fillings, texture, and color, you can create a realistic and appetizing taco drawing. The best part is that every taco can be customized with different ingredients, colors, and creative details.
Keep practicing, experiment with new toppings, and challenge yourself to draw an entire taco feast filled with tacos, burritos, chips, salsa, and guacamole. The more you draw, the better your food illustrations will become.